
Installation
-
Watch Video
YOUTUBE INSTALLATION VIDEO
-
View Tutorial
INSTALLATION SLIDESHOW TUTORIAL
Step 1
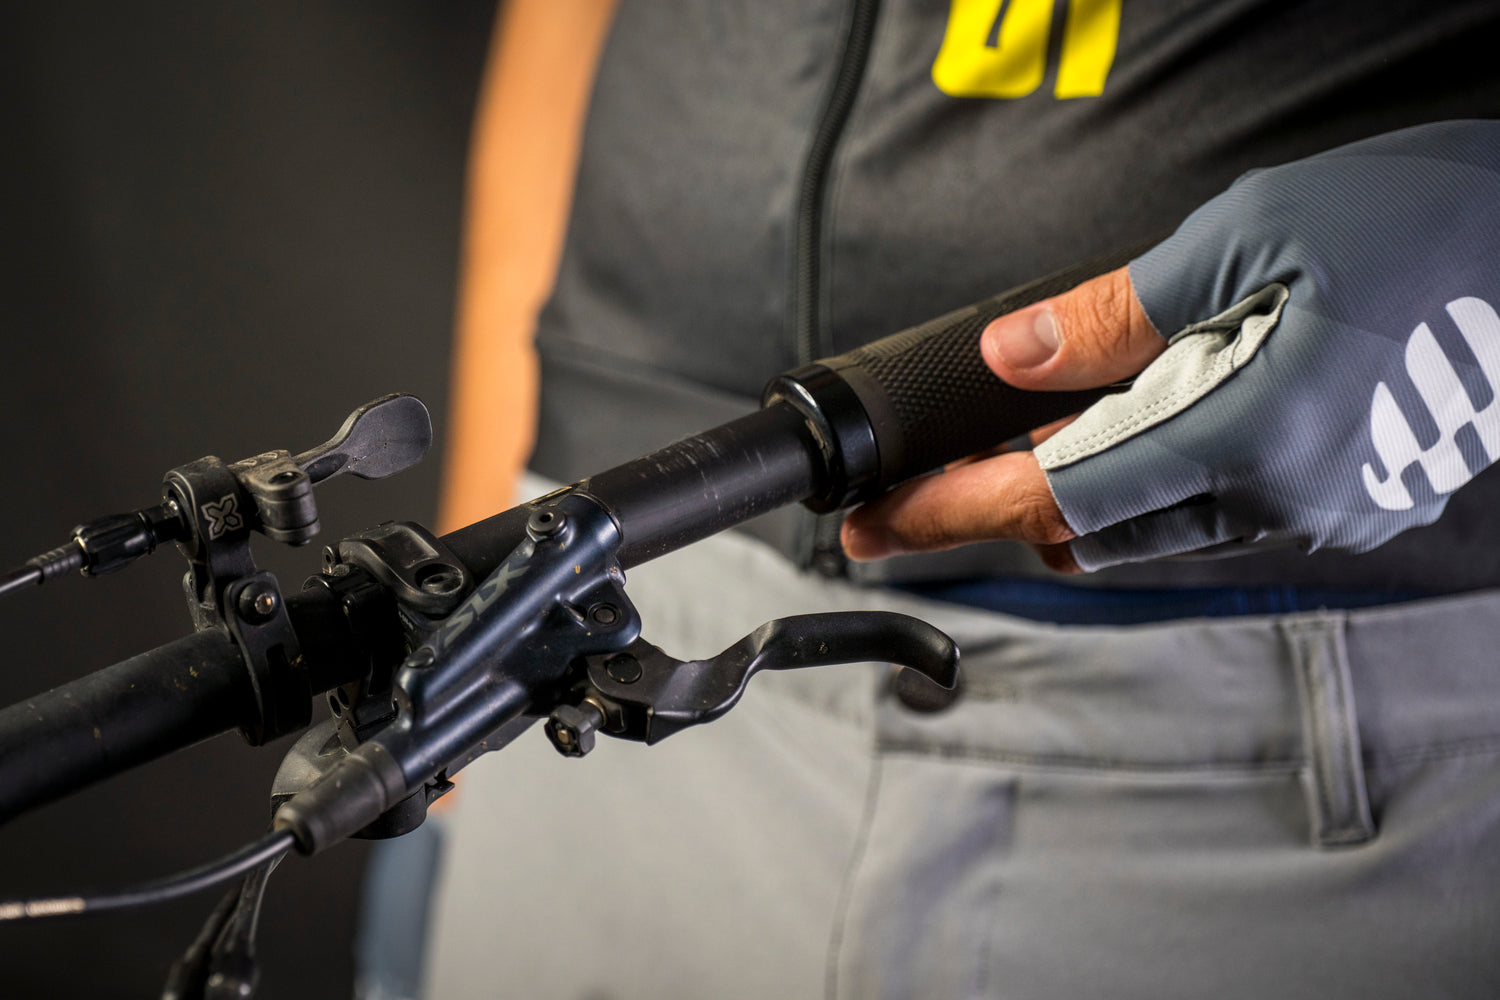
Start by removing your existing mountain bike grips. If you need guidance, go and check out relevant YouTube tutorials.
Once you’ve done this, ensure handlebars are clean by wiping them down with a good cleaning solvent.
IMPORTANT: Don’t remove the spacers on the end of each of your STOLLA grips.
Step 2
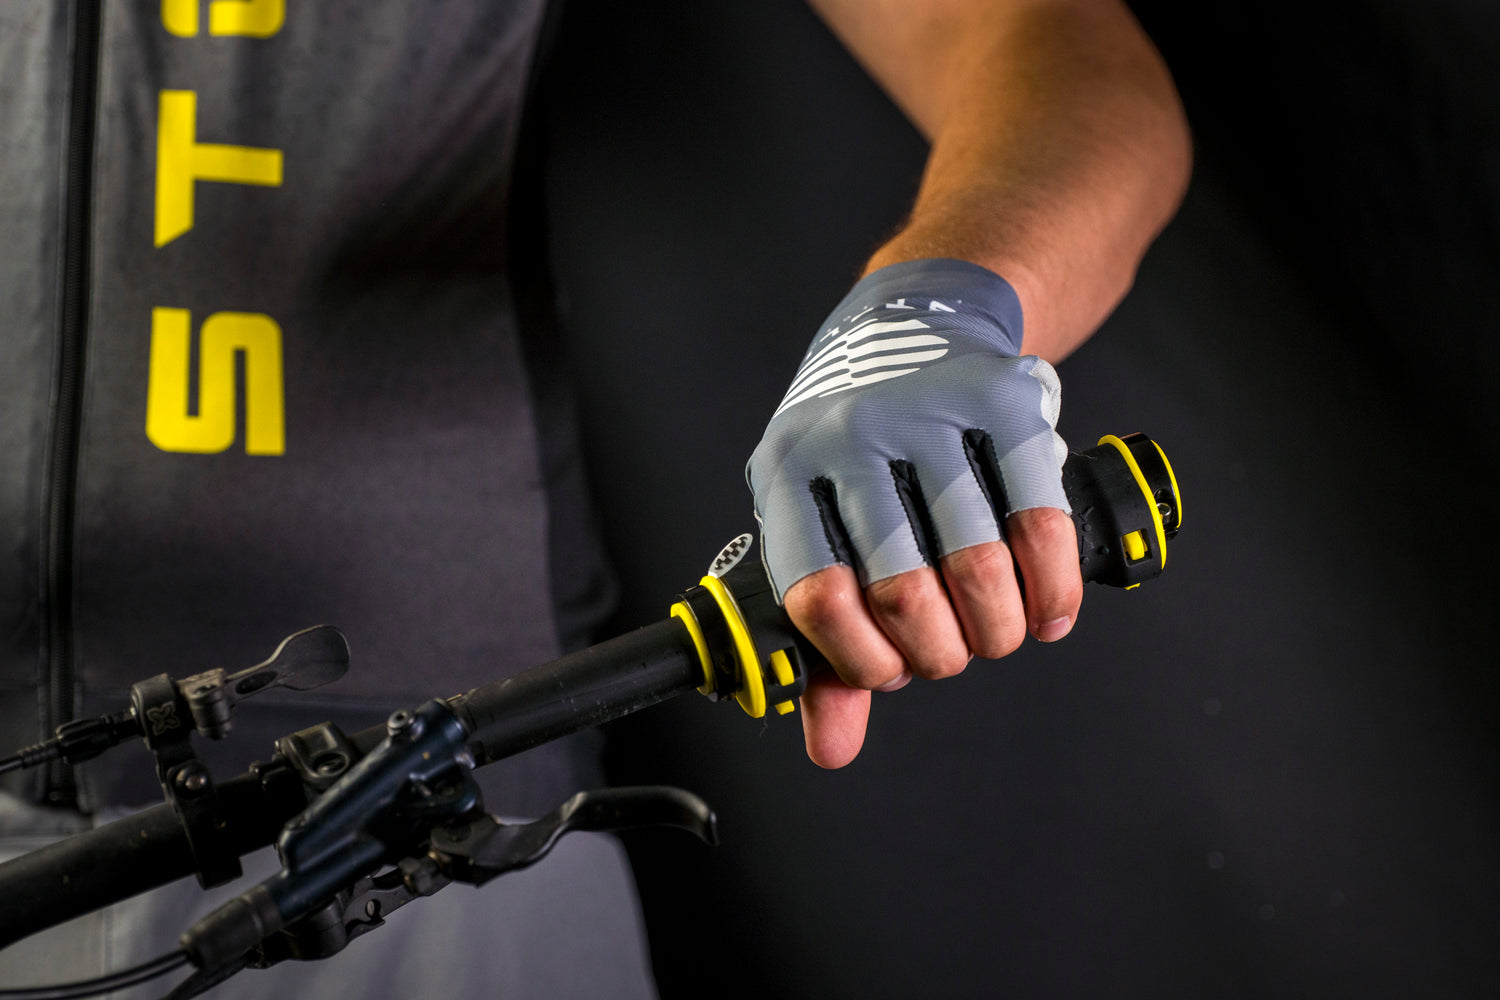
Slide the smooth end of the rubber sleeve onto the bar – they are interchangeable, so no need to differentiate between the Left and Right sides.
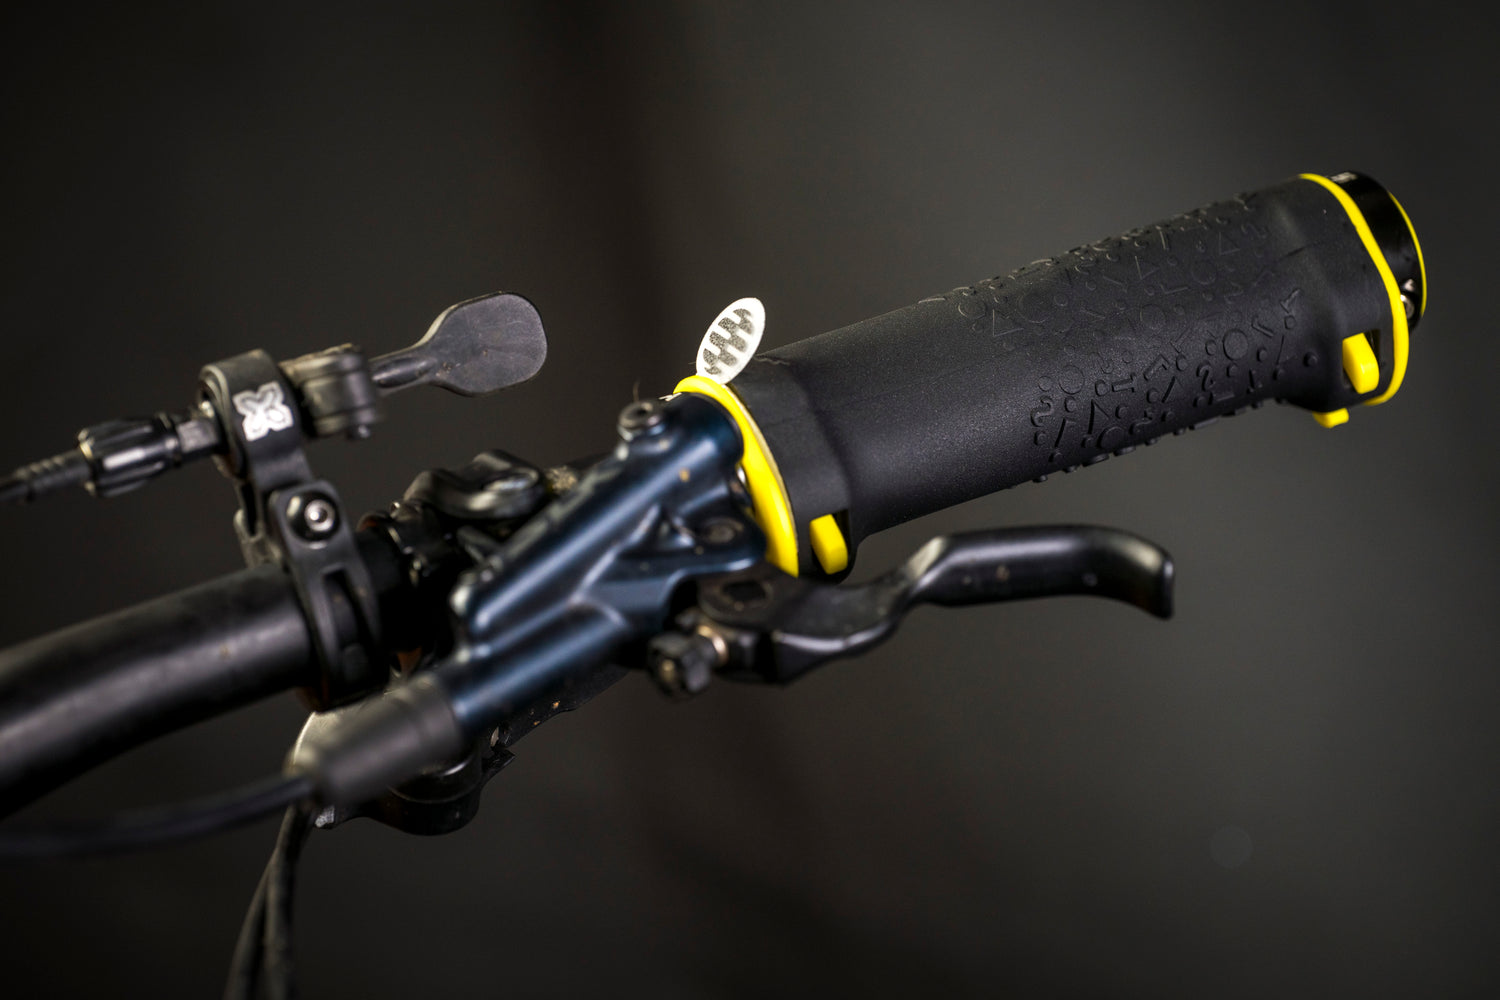
Ensure the pins both face downwards at a 10-degree angle ahead of the fork angle and that your STOLLA grips are flush with the ends of the handlebar tubing.
Step 3
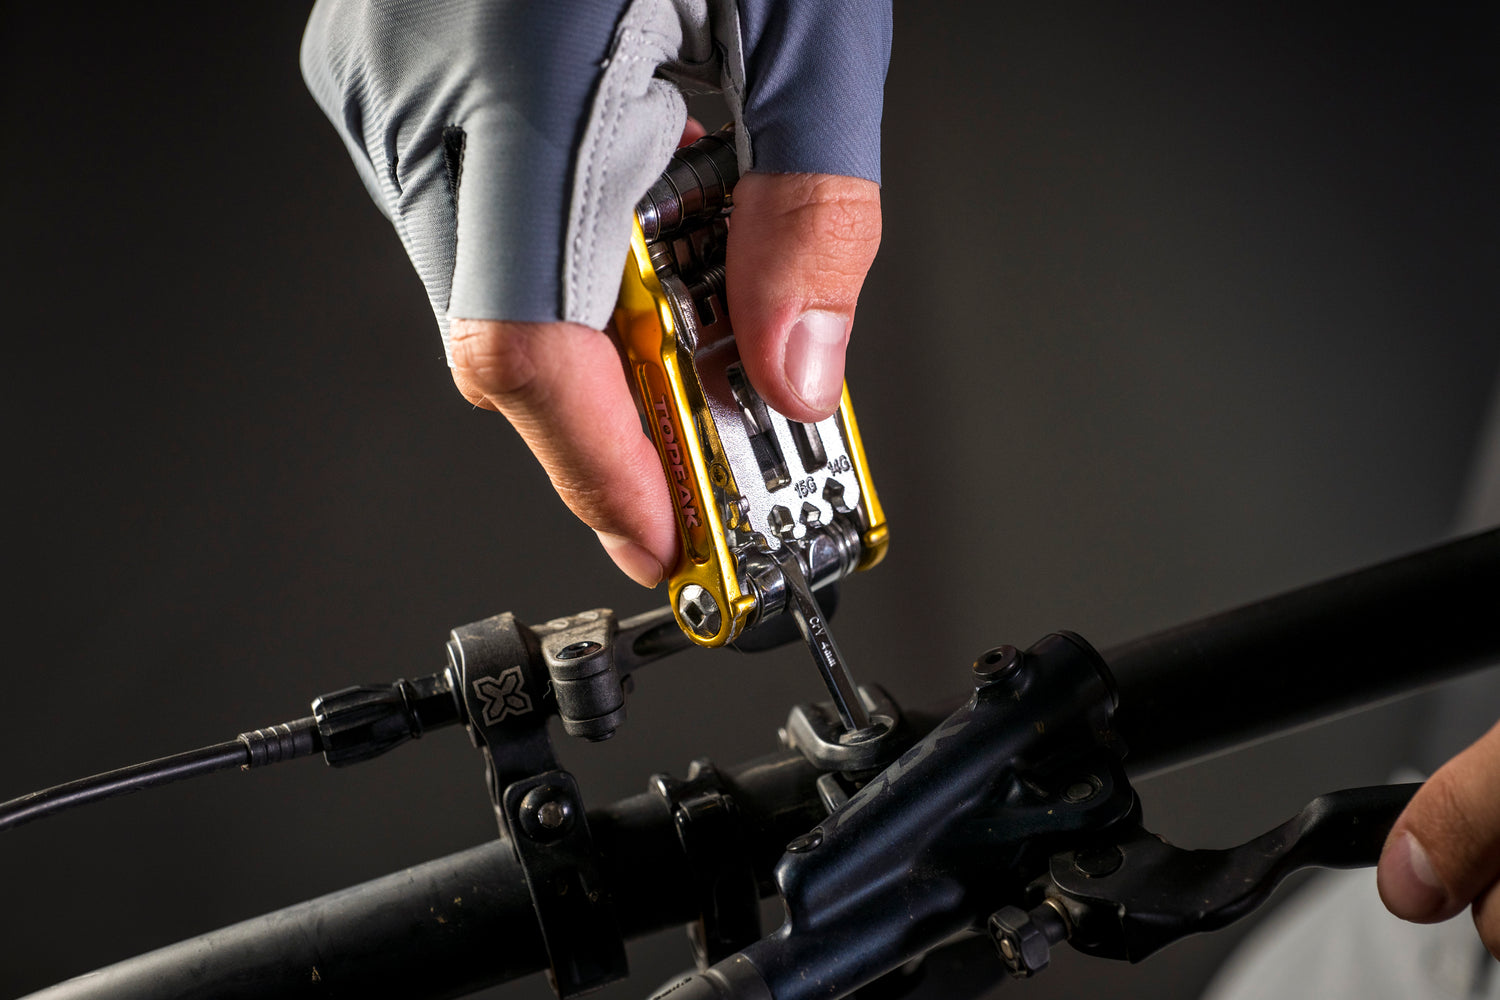
Should your STOLLA grips be longer than your current grips, you may need to move your brakes and gear lever inwards on your handlebars.
Ensure that you keep their adjustment at the previous angle and positioned to allow easy brake and shifter access and operation while riding.
Step 4
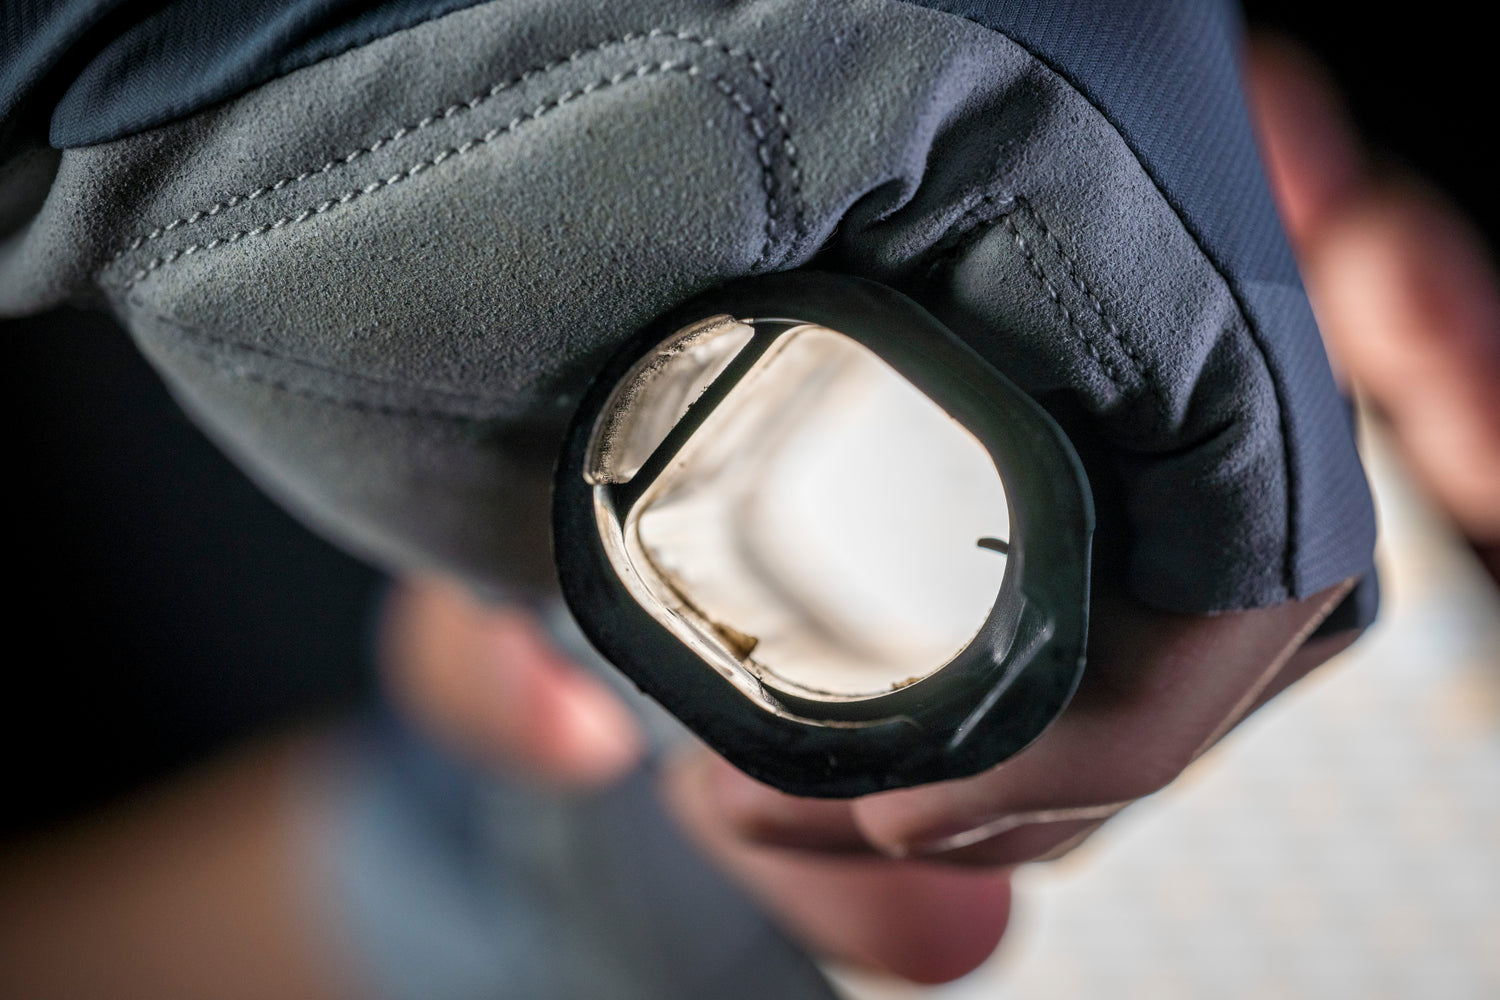
Your STOLLA grips attenuate impact at an angle slightly forward from the fork and should be in line with your arms when gripping them with a straight wrist.
The angle at which the grips are installed is crucial to ensure optimal functioning of the elastomer Air Plenum, so do this while seated in a comfortable riding position to ensure maximum shock dampening.
Step 5
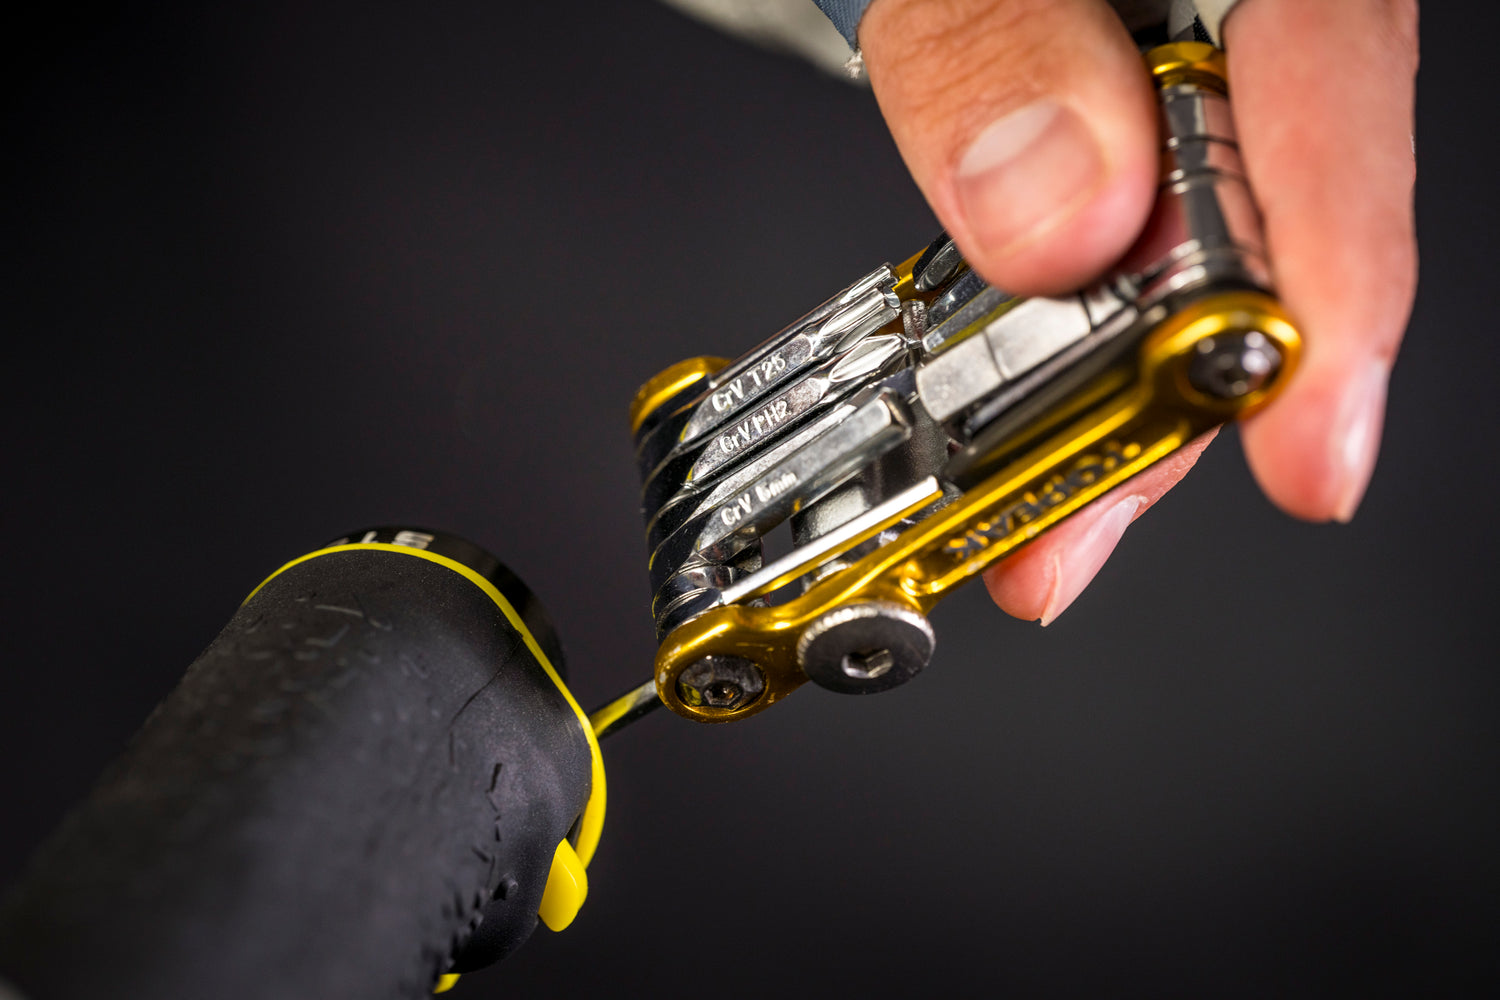
If you have one, use a torque wrench to tighten the screws on the STOLLA Grip ends. An Allen key or Multi-Tool will work too, but ensure the screw engages, then firmly turn multi-tool with fingers and thumb until tight.
Do not force, as there should always be a gap of at least 1mm between the two edges on the metal clamp.
Step 6
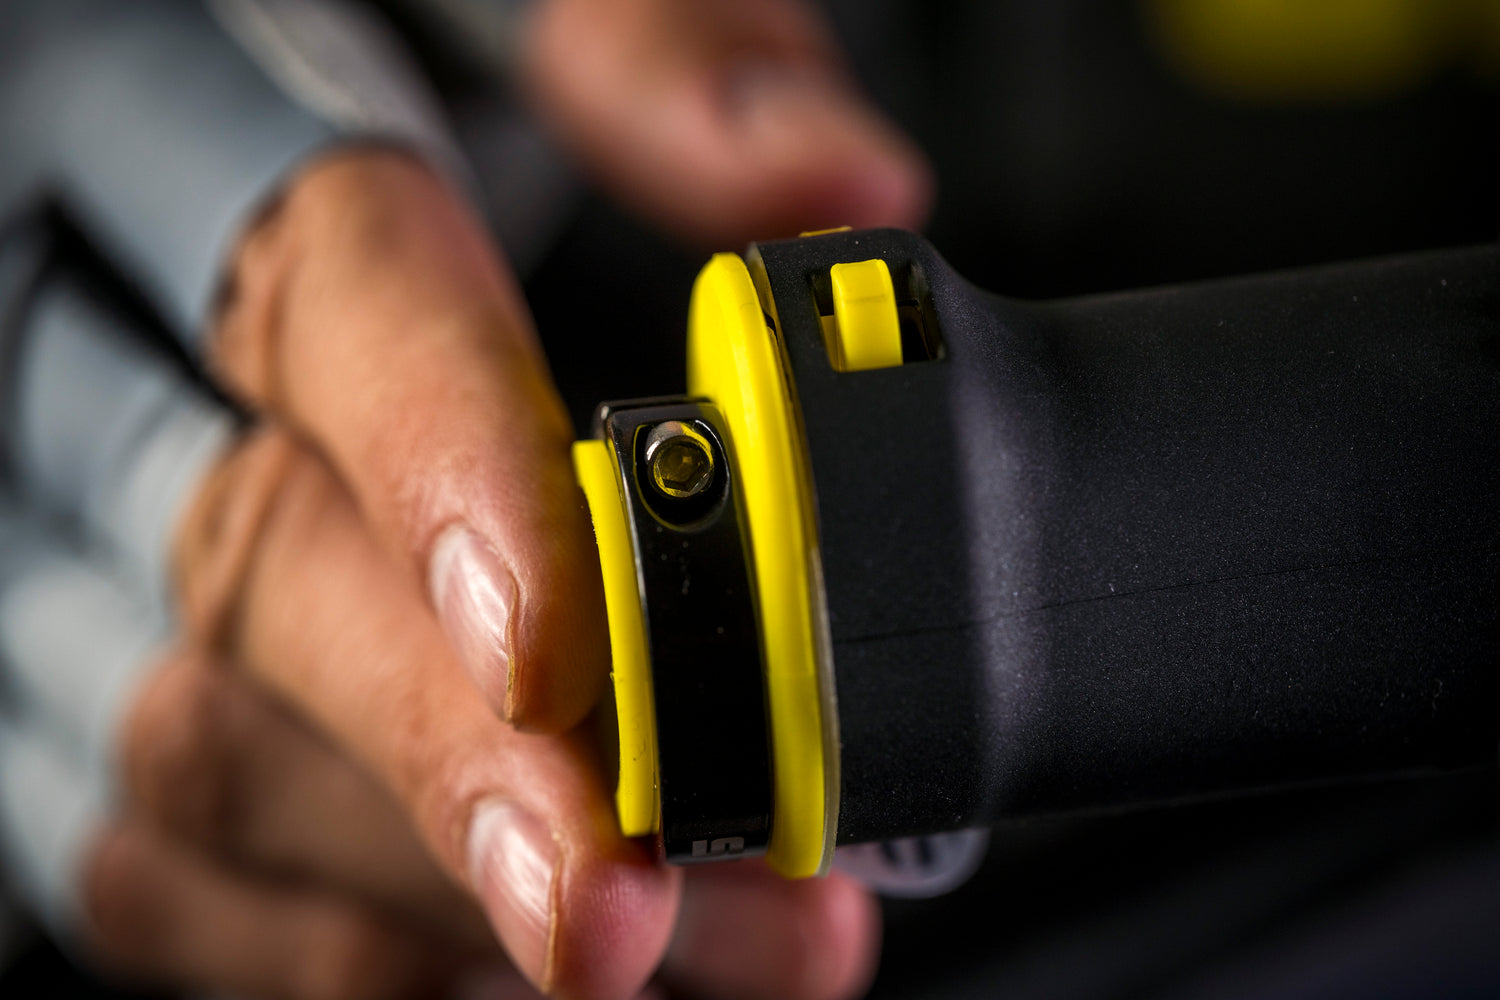
When tightening the screws on either end of your STOLLA Grips, make sure that the rubber grip sleeve is aligned to both the coloured seating pins and not twisted between the grip ends.
Test that the sleeve can slide up and down 2-3mm without friction and that it then smoothly returns to a neutral, seated position automatically.
Step 7
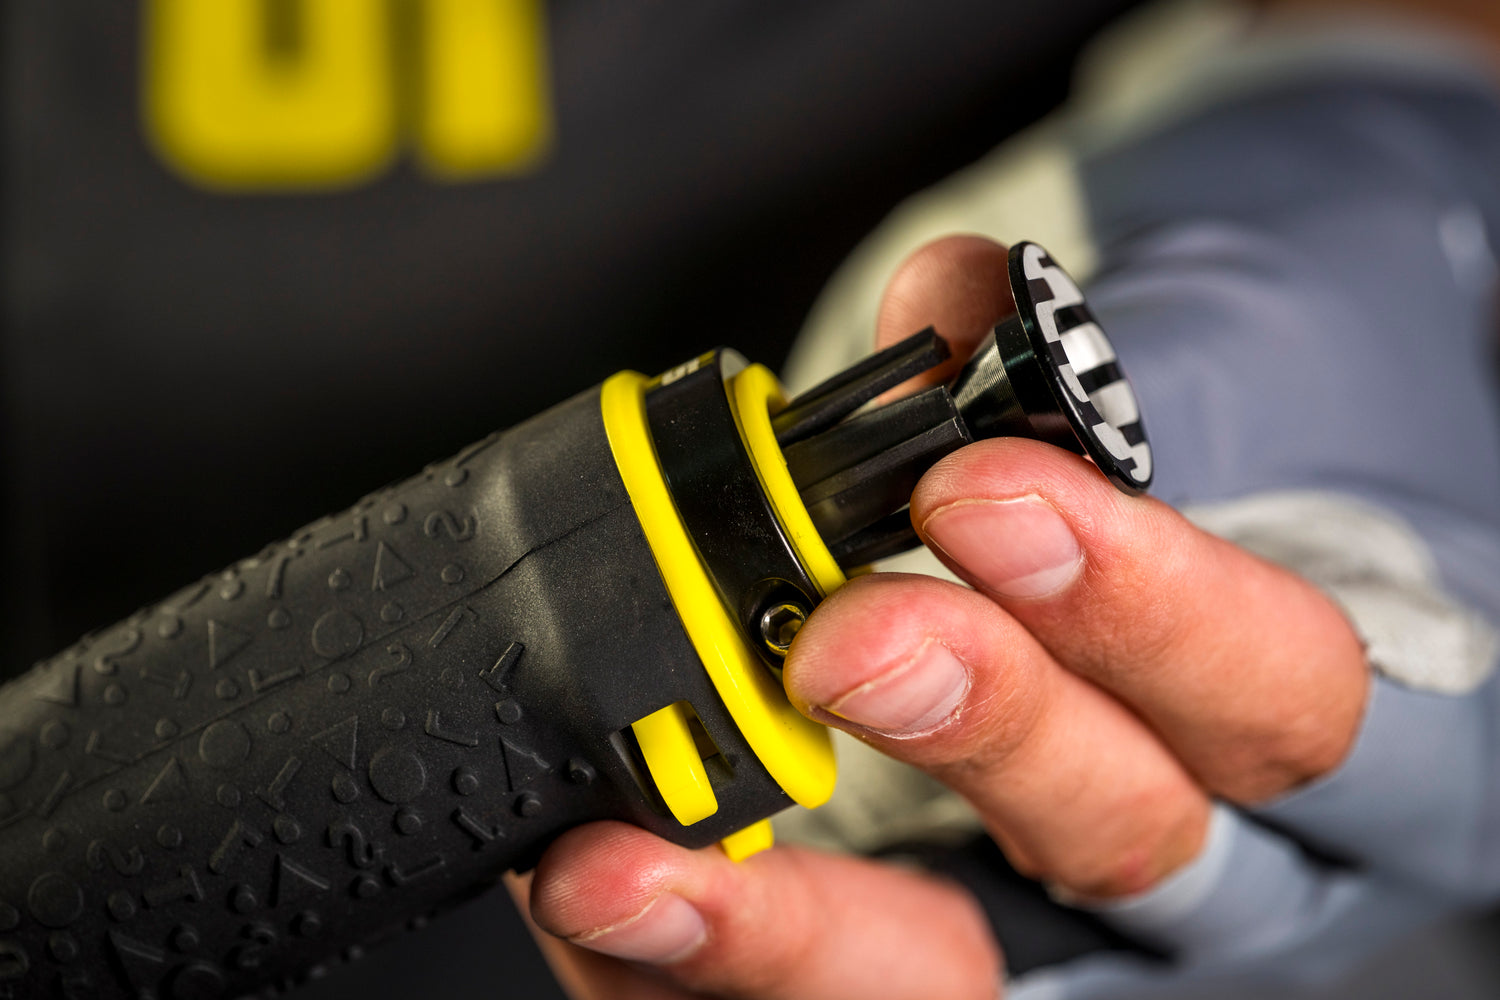
Take the metal end cap and ensure screw is engaged in plastic flange by turning while pressing firmly on screw head (make sure the flange is moving upwards towards the metal end cap and screw is not rotating).
Do not over-tighten: flange should slide in & seat firmly inside metal handle bars. Push metal section in until it is flush with the coloured end piece of your STOLLA Grips, then tighten with Allen Key to seat firmly.
Step 8
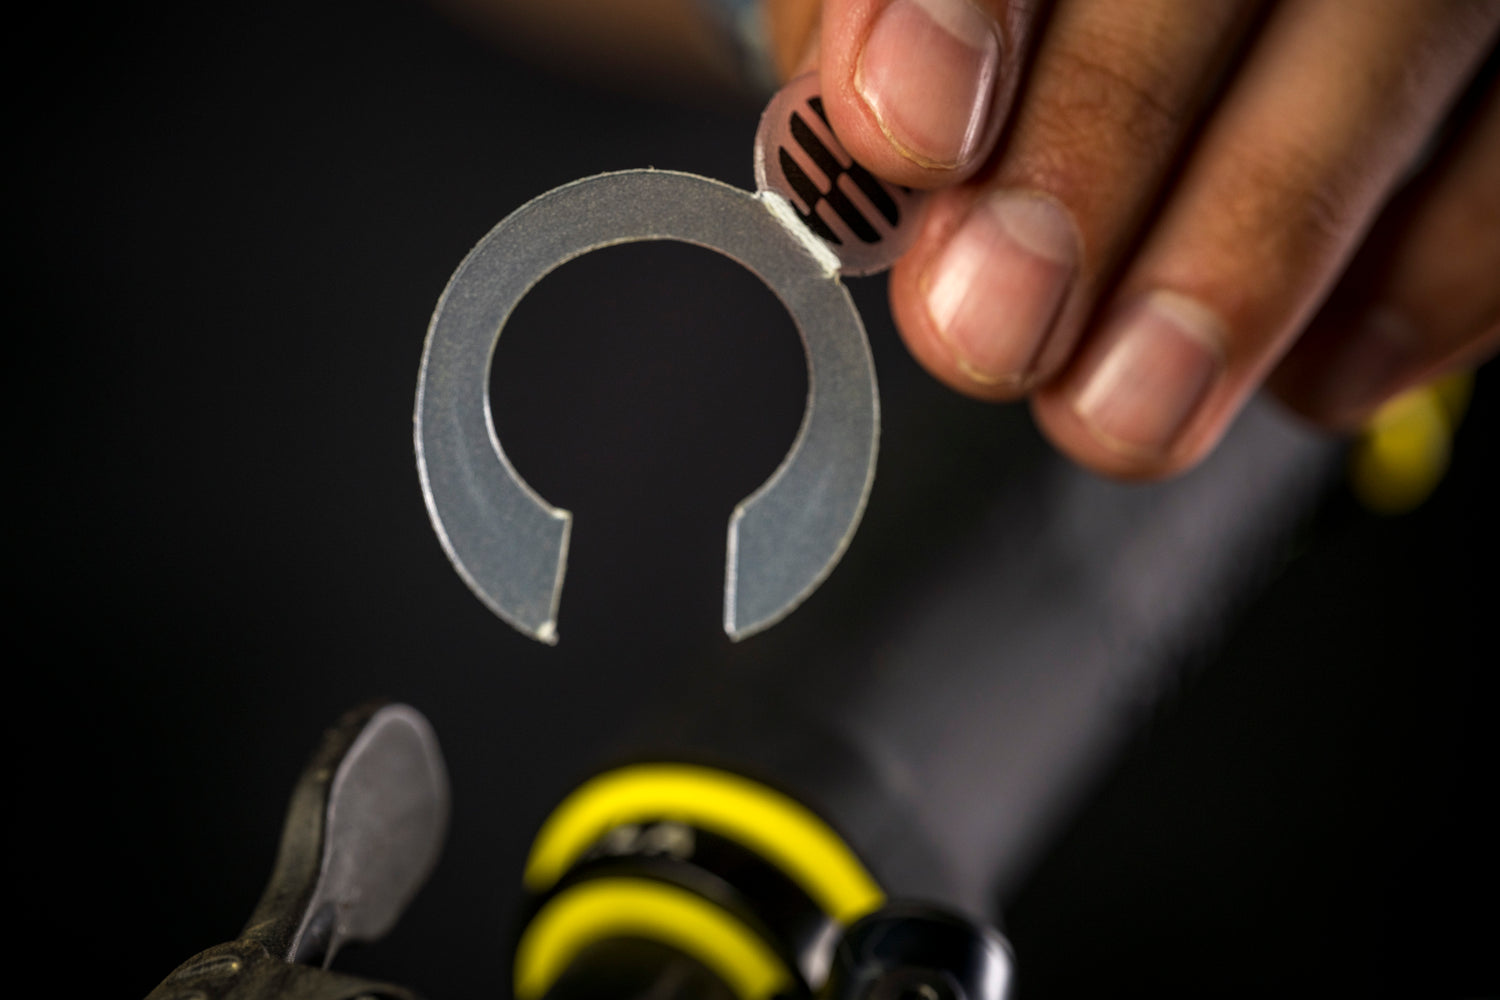
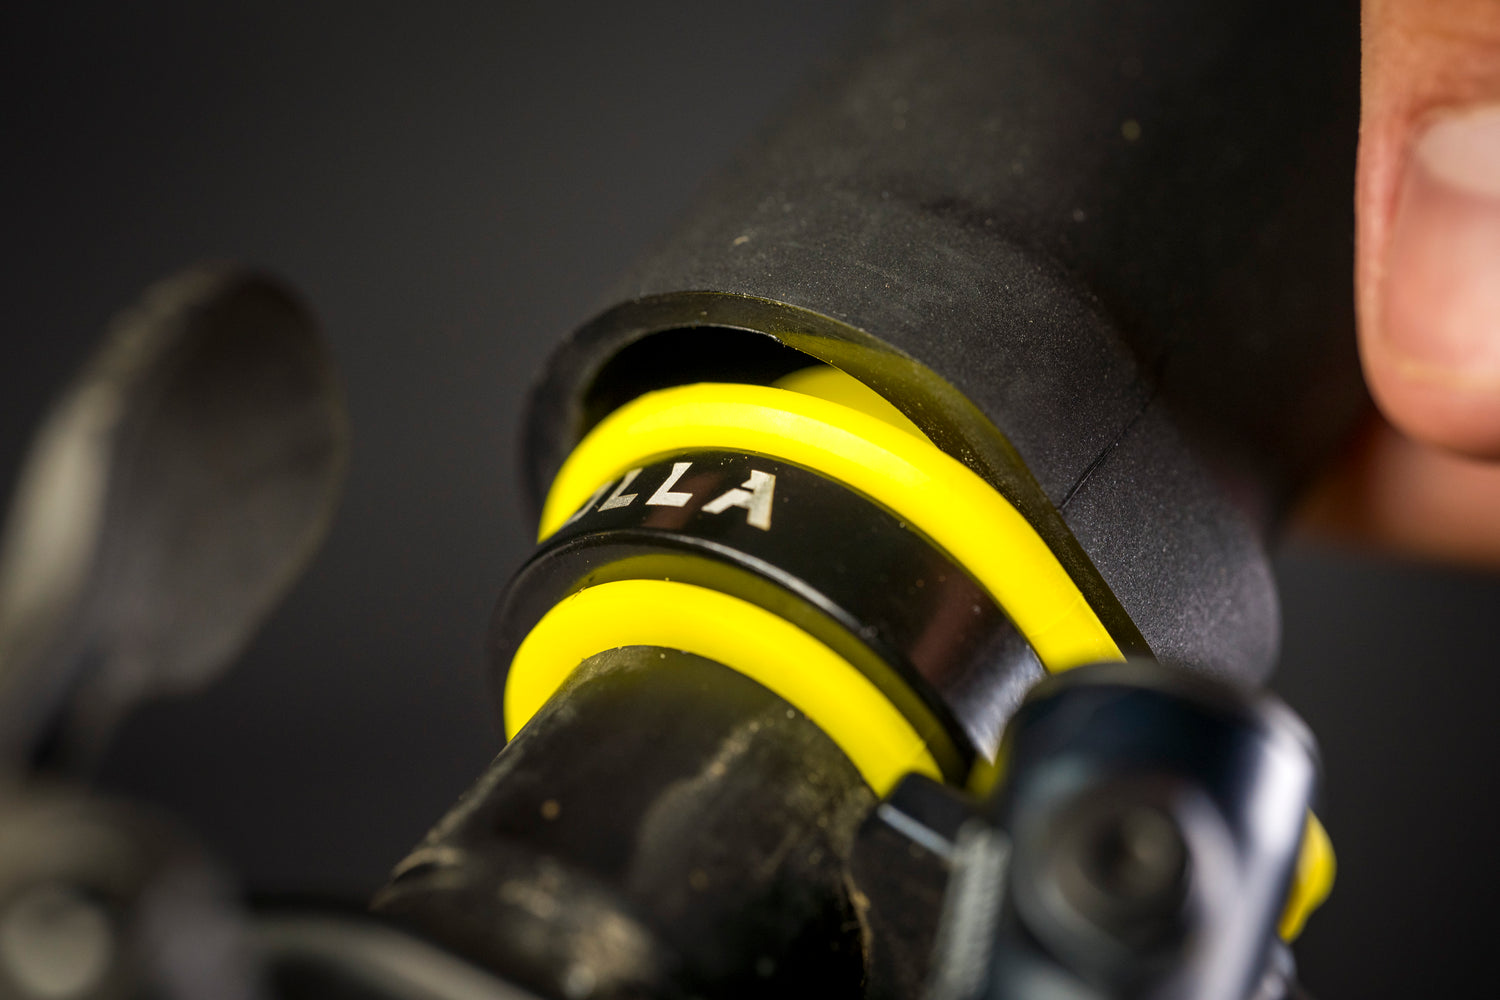
Once you’ve completed the installation of your STOLLA Grips, you can now remove the Spacer Tab.
Pull upwards from the handlebars; this creates the space necessary for your grip sleeves to move independently from the rest of the grip assembly.
Step 9
The installation of your STOLLA Grips is now complete. It is critical to again check that both the rubber sleeves move up and down on the end pieces.
It may take you some time to get used to the ‘loose’ feeling this creates, so take time to go for an hour of gentle riding so you and your grips can ‘bond’ properly.
Step 10
It may be a good idea to consult with a professional bike-fitting expert to ensure seating position, handlebar reach, and saddle height conform to your anatomy.
Your wrists should be straight, with the angle of your arms aligned with the Air Plenum seated comfortably where your thumb and hand meet.
Happy Trails!
